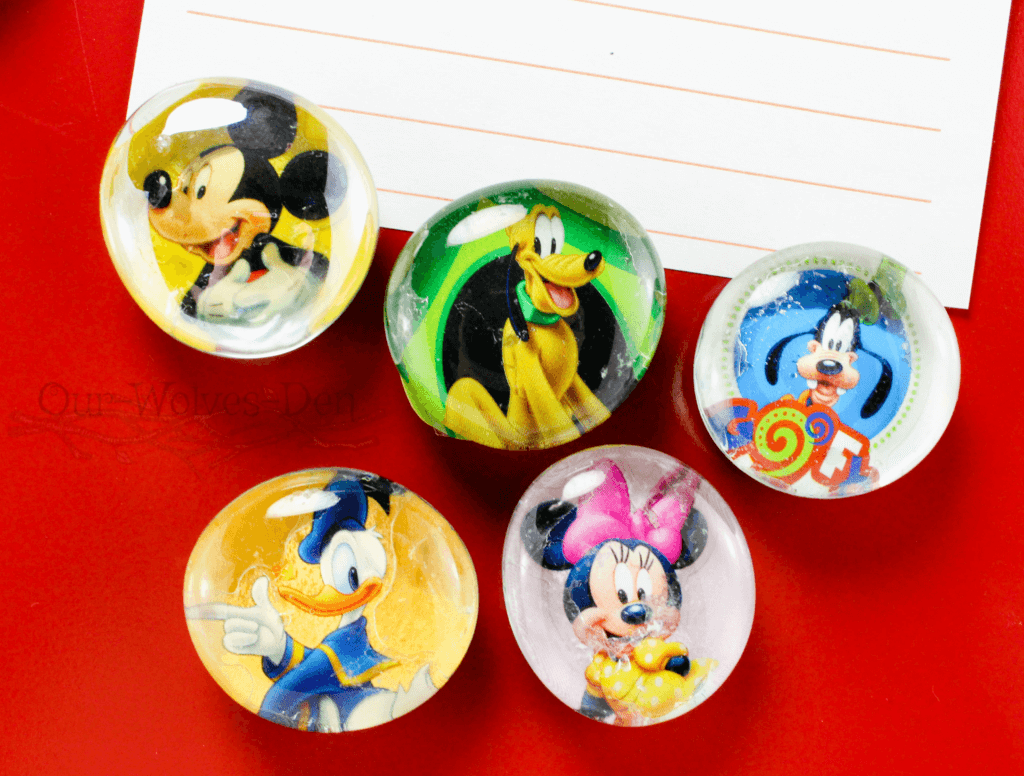
DIY Magnets are something that if you are like our family- you can never have too many. We use magnets on our fridge, on at least a half dozen magnetic memo boards and dry-erase boards. One thing I didn’t like was constantly doling out money for packages of four or so generic magnets. And the more expensive designer magnets were not only cost to much, they also seemed to fall apart quickly.
What excites me about this DIY magnet craft is that most of the supplies can easily be picked up at our local Dollar Store or even in bulk at garage sales or thrift stores. I can’t tell you how many times I have seen totes full of half used sheets of stickers, bits and pieces of scrapbooking paper, clear gems inside vases, and all of odds and ends that come from unfulfilled crafter dreams. The kids now can customize their own magnets easily for their own use or even a cute gift to give.
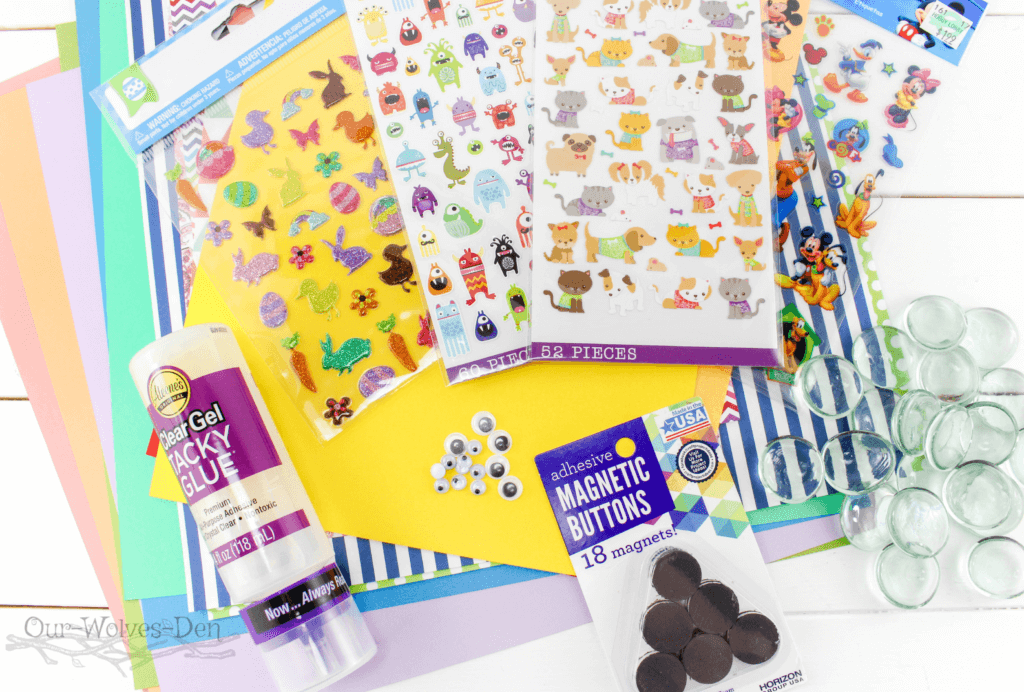
What’s Needed
Clear Glass Stones
Adhesive Magnetic Buttons
Clear Glue
Paper, multi colors and designs
Googly Eyes
Stickers
I was able to pick up Tacky Glue and the Magnet Buttons for low cost at WalMart. I am sure that I could just go to a designated craft store and purchase everything at a bit more cost, but seriously I really enjoy the hunt of the bargain. Besides, even I have tons of Scrapbooking paper in our closet from my unrealized dream of creating fantastic family memory books. I have come to the conclusion that I am just not that kind of crafty mom.
Directions For DIY Magnets
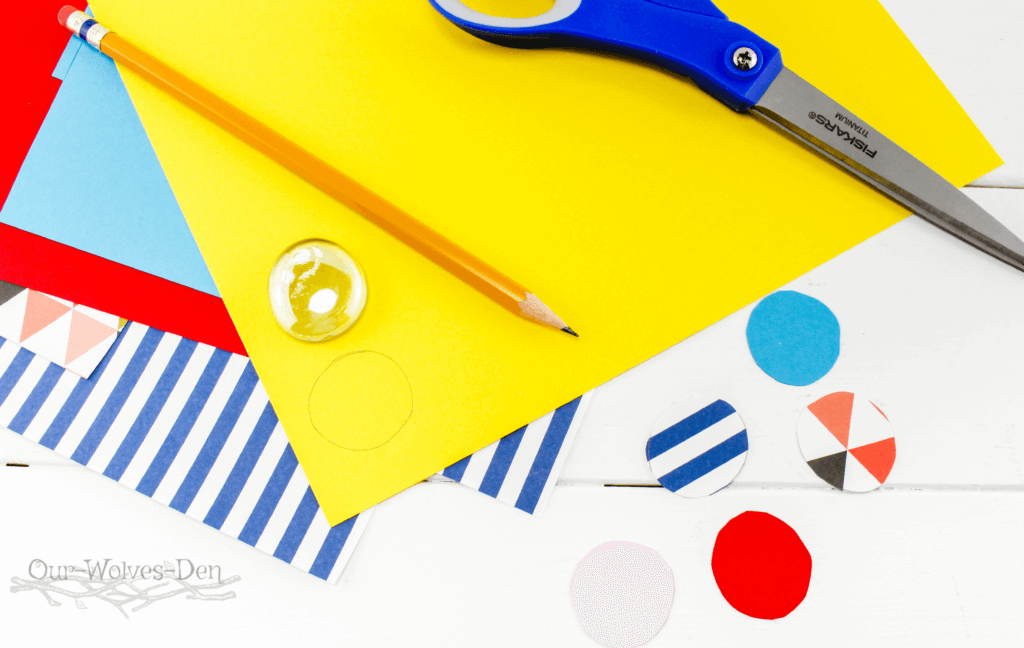
First trace circles using the stones and cut out the paper circles.
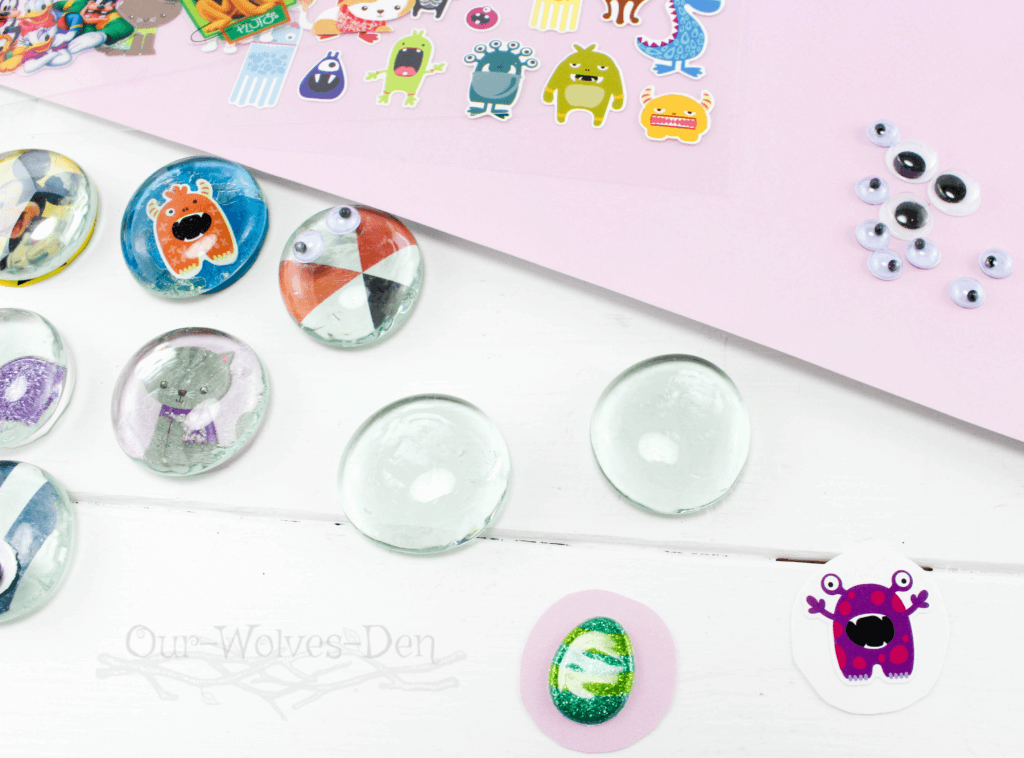
Next, stick a sticker on each paper circle then add a little glue to the back side of the stone and place design on stone.
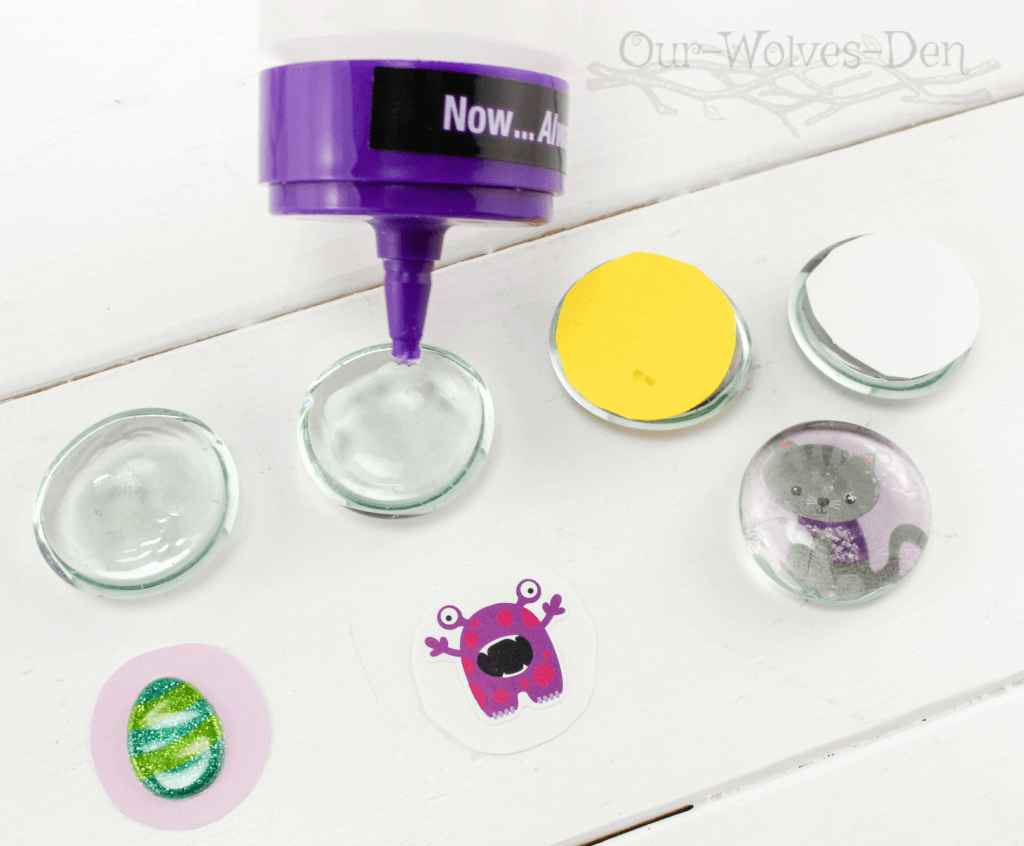
Using the design paper, cut out circles and glue to the stones. Then on the front of the stone, glue on googly eyes to create little bugs.
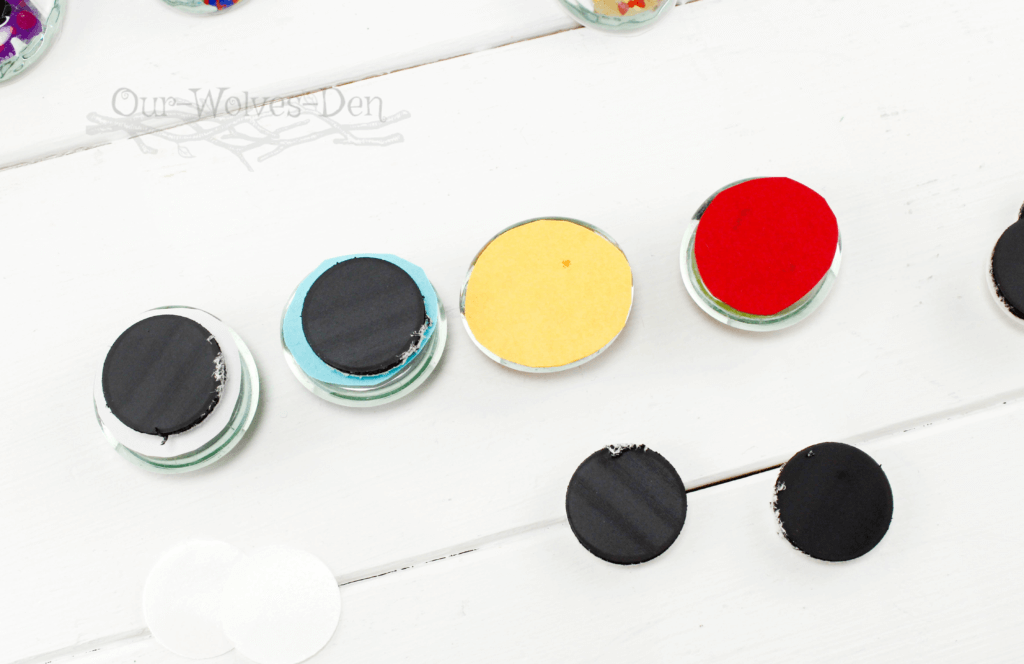
Stick a magnetic button on the back of each stone.
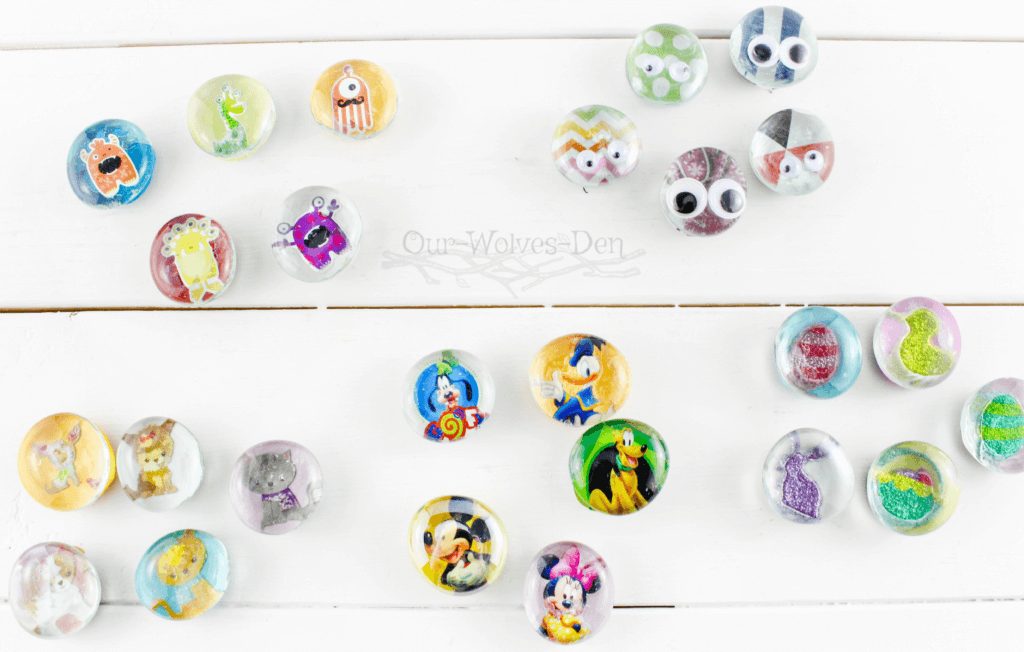
Let magnets completely dry before use.